
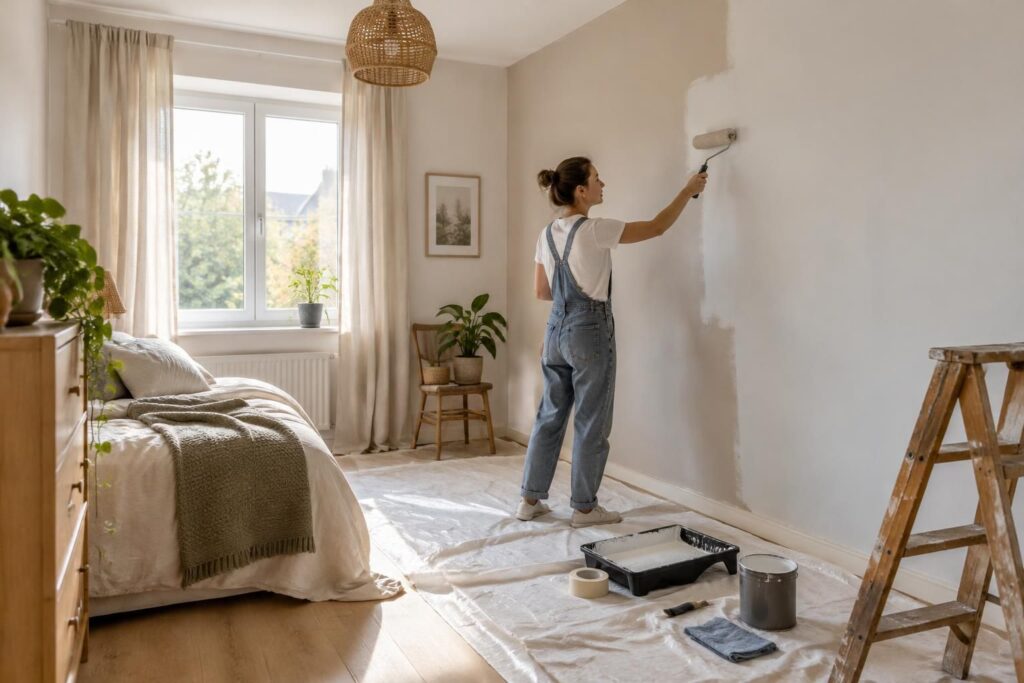
Hi DIYers, Patrick here. For an easy renovation, start with the bedroom: you can work on it without disrupting the rest of the home. By choosing a little-used room to renovate and refreshing its walls without stripping everything back, you can limit the hassle, expenses and minor jobs that drag on. The idea is simple: make progress step by step, without turning home renovations into a major project.
Do this right away: choose an easy first room to renovate
Do this today: find a room in good condition, set a simple renovation budget and get your tools ready. To choose the right order, check out these guidelines on which room to renovate first and the advice on repainting without redoing everything.
- Choose a bedroom or living room where you can easily move the furniture.
- Check that the walls are dry and clean, with no flaking paint.
- Make a list of the supplies you need and leave a little room in your budget.
- Protect the floor, furniture and outlets before you start.
- Set aside a long enough work period to allow for drying time.
A bedroom is often a good choice because it can be renovated with little demolition, and the work can be limited to one wall, a coat of paint or a few finishing touches. If the room needs to remain in use, the living room may work, provided you clear an area and carefully protect the furniture.
Which room should you renovate first to get started without stress?
To get started, choose a room with walls in good condition that can be used differently for a few hours. A guest bedroom, for example, lets you paint without having to reorganize the whole house.
If it’s a little-used bedroom, start with the walls and finishing touches. If it’s a damp room or one with blistering paint, deal with the cause first: painting over a damp surface could make the project fail.
A limited renovation project is better than a scattered job
Set a specific goal: repaint the walls, change the handles or improve the lighting. By sticking to one main goal, you’ll have better control over your renovation budget and avoid buying supplies for work that isn’t a priority.
A quick anecdote sums up the value of this approach: one DIYer refreshed his bedroom in a day, cleaning and repairing a few imperfections before painting. He was able to put the furniture back after the paint dried, without moving the project into the rest of the home.
“A small, well-prepared job goes more smoothly than a large, improvised one.” This principle also helps keep your home functional while work is underway.
Prepare the room before starting any small jobs
Before you get out the roller, inspect the surfaces and fixtures. A clean, dry, solid wall often only needs cleaning, a few localized repairs and suitable paint; there’s no need to strip everything if the existing finish is adhering properly.
For previously painted walls, acrylic renovation paint may be suitable, depending on the surface and the manufacturer’s instructions. Two thin coats often give a more even result than one thick coat, but the number of coats varies depending on the color and the situation.
| Condition of the room | Action to take | General estimate |
|---|---|---|
| Clean walls in good condition | Protect the area, then apply suitable paint | Light preparation |
| Small holes or scratches | Fill, smooth the affected areas and let them dry | One extra step |
| Peeling paint | Remove loose paint and prepare the surface | More preparation |
| Signs of damp or blistering | Identify and address the cause before repainting | Time required depends on the situation |
Useful tools for an easy renovation
Get a roller suited to the wall, a brush for the corners, a paint tray, masking tape, a drop cloth and something to fill small imperfections. A primer may be useful on a very smooth, porous or highly contrasting surface; follow the instructions for the product you choose.
Avoid painting over a dusty or greasy wall. Proper cleaning improves adhesion, while thin coats and cross-hatched strokes help minimize visible marks.
Renovate your first room in three practical steps
A simple method helps you stay in control of the project. Each step prepares for the next: don’t skip the drying time, even if the room seems ready.
- Step 1 — Prepare: Clear the area, protect the floor, clean the walls and check for imperfections. Fill any holes and let the filler dry according to the manufacturer’s instructions.
- Step 2 — Paint: Use a brush on the corners, then work in even sections with the roller. Apply thin coats and follow the drying time indicated on the can.
- Step 3 — Finish: Remove the masking tape at the right time, check the joins in daylight and put the furniture back once the paint is dry.
Also leave some room for the unexpected: touching up the filler or adding another coat may affect the schedule, depending on the room and the product. The right pace is one that allows each material to dry properly.
Keep the rest of the home functional during the work
A well-managed project doesn’t require you to empty the house. Group the furniture in the center of the room or move it to another room, keep a clear path and put your tools away after each work session. These simple steps reduce disruption and make your home easier to live in.
When planning home renovations, distinguish essential tasks from optional improvements. Decorating tips can wait if the surface needs repairs first: a sound base comes before accessories and color changes.
The best choice isn’t necessarily the most dramatic room, but the one where you can achieve a visible result with straightforward tasks. Starting small helps build confidence and plan what comes next without disrupting the home.
Practical questions before you start
What is the best first room to renovate?
A little-used bedroom is often a practical choice: it can be cleared easily and refreshed with light work. A living room also works if you can protect and move the furniture.
Can you repaint an already painted wall without stripping it?
Yes, if the existing paint is adhering well and the wall is clean and dry. Remove any flaking areas and repair imperfections before applying the new paint.
Do you always need to apply primer?
No, not necessarily. It is often useful on a porous, very smooth or highly contrasting surface; check the manufacturer’s recommendations for your wall and paint.
How can you minimize roller marks?
Use a suitable roller, avoid overloading it and apply thin, even coats. Also follow the drying times indicated on the product.
Thanks for reading this far; Patrick