
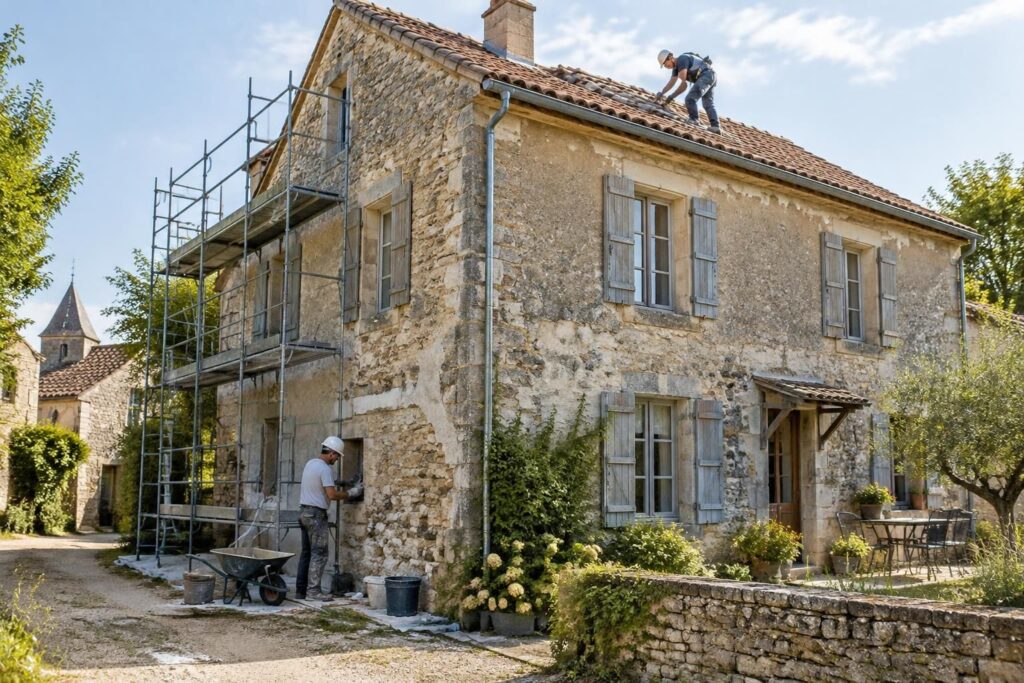
Hi, DIYers, Patrick here. When renovating an old house, start with the exterior: roof, façade, windows and doors, and damp issues, then move on to the interior once the building is protected. This order helps prevent damage to new finishes and makes it easier to spot urgent issues before they strain your budget. Exterior renovation is about more than appearances: it helps create a healthier, more comfortable home. Set aside a 10 to 20% contingency, depending on the condition of the building.
Old house: what to do before renovating the interior
- Look for signs of damp, cracks, and water ingress.
- Have the roof and timber frame inspected before renovating the rooms.
- Check the condition of the façade and windows and doors.
- Photograph each area so you can compare before and after.
- Get several quotes and set aside a contingency fund.
To prepare for your project, read these renovation priorities for an old house and this guide to landscaping around an old house.
Why start with the exterior of an old house
A leaking roof or render that lets water in can damage ceilings, walls, and floors. Painting or installing new flooring before fixing these problems often means paying twice.
Start by inspecting the roof, gutters, drainage, and seals around the windows. A tired-looking façade does not always need to be completely redone: sometimes, suitable cleaning or targeted render repairs are enough. For changes visible from the street, check the planning rules with your local council.
One homeowner had planned to renovate their living room, then discovered water ingress near an old chimney. The leak was coming from the roof covering: fixing the roof first saved them from damaging the new finishes.
What to check outside first
Look for displaced roof tiles, flashing, downpipes, and signs of water running down the walls. Also check the windows and doors: a damaged frame or faulty seal can let water and air in.
An old house does not always behave like a modern building. Before choosing render or insulation, you need to understand how its walls release moisture. The guiding principle is simple: protect the building before covering it.
Work to plan before renovating the interior
Once you have inspected the building envelope, set priorities with a professional if you find a significant crack, a weakened timber frame, or persistent water ingress. Structural work and urgent repairs come before the finishing work, because they determine the home’s safety and durability.
| Area | What to check | Why to address it before the interior |
|---|---|---|
| Roof | Roof tiles, timber frame, joints, gutters | Prevent water ingress and ceiling damage |
| Façade | Cracks, render, joints, water runoff | Limit water ingress and protect the walls |
| Windows and doors | Frames, seals, opening sections | Improve weatherproofing before finishing work |
| Surrounding area | Ground slope, water drainage | Reduce the risk of damp at the base of the walls |
If the house is in good condition, targeted repairs to the façade and windows and doors may be enough before modernizing the rooms. If you notice water ingress, significant cracks, or damage to the timber frame, have these issues assessed before starting the interior renovation.
A three-step method for getting the order right
- Step 1: inspect the exterior, photograph any defects, and have any areas of concern checked.
- Step 2: address water ingress, roof repairs, and other urgent issues affecting the building.
- Step 3: plan the insulation and ventilation, then start the interior work once the building is protected.
This method helps distinguish urgent repairs from decoration. As the saying goes: “A healthy home is renovated in the right order.”
Insulation and damp: prepare for comfort without trapping moisture in the walls
Insulation should be considered after assessing the building envelope, but planned alongside ventilation. Insulating a damp wall without understanding the cause can trap moisture and encourage mold growth. First identify the source: a leak, rising damp, water runoff, or inadequate ventilation.
Materials need to suit the building and its condition. In an old house, a solution that looks good on paper will not necessarily be suitable for stone or earth walls. A professional experienced with this type of construction can help you choose a compatible approach.
Preserve the old-world charm while modernizing the house
Starting with the exterior does not mean erasing the house’s character. A sound stone façade, restored shutters, or a refreshed front door can preserve its identity while improving its condition.
Inside, keep the features in good condition that add character: beams, a staircase, terracotta floor tiles, or a fireplace. The professional tip is to choose a few standout period features, then update the lighting, storage, and fixtures and fittings with a light touch. A good before-and-after transformation improves everyday life without turning the house into an impersonal showpiece.
Practical questions about the order of work in an old house
Should you always redo the façade before the interior?
No. First check its condition and fix any defects that let water in. If it is in good condition, a complete renovation is not necessarily needed.
What should you check on the roof before getting started?
Check the roof tiles, joints, gutters, and signs of water ingress in the attic. If you have concerns about the timber frame or a leak, ask a professional for advice.
When should you plan insulation for an old house?
After identifying and addressing water-related problems, and choosing insulation in conjunction with ventilation suited to the building.
How much should you set aside for unexpected costs?
Setting aside around 10 to 20% of the budget is a sensible rule of thumb, adjusted according to the condition of the home and the scope of the work.
Thanks for reading this far; Patrick