
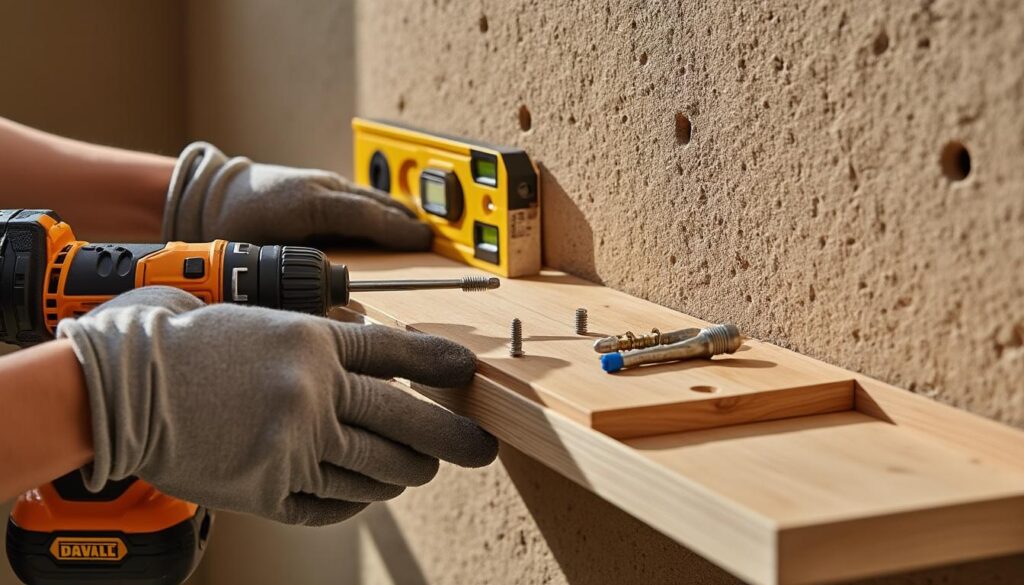
Hello friends, it’s Patrick, a carpenter by trade. To attach a shelf to a wattle-and-daub wall, the load needs to be transferred to sound timber framing or an identified load-bearing support, rather than relying on the earth-and-straw infill alone. Identify the wall’s composition and the total weight of the shelf and its contents before choosing the fixings. If no reliable anchor point is accessible, a freestanding shelf is preferable.
To learn more about clever DIY, you can read these essential articles: How to hang things without drilling: 5 techniques that hold and How to renovate successfully with no professional tools.
The key challenges of attaching a shelf to a wattle-and-daub wall
Wattle and daub is a living, fragile material, often several decades old. Drilling into the wall without taking precautions or adding reinforcement can cause cracks, sections of the wall to fall away, or even a localized collapse. You also need to carefully account for the load the shelf will bear to avoid damage. For this type of wall, standard fixings sold at Leroy Merlin, Bricorama or Castorama are not always the most suitable.
- The fragility and grainy texture of wattle and daub
- No solid substrate such as concrete or brick
- Little or no natural anchoring for a durable screw fixing
- The need to reinforce the fixing area
Here’s an example: a client wanted to install a shelf full of old books in his wattle-and-daub house. Without suitable reinforcement, the wall gave way under the weight after a few months, causing considerable damage. A great reminder that when it comes to DIY, caution goes hand in hand with a successful renovation!
Suitable solutions for a wattle-and-daub wall
There are several ways to securely attach your shelf to a wattle-and-daub wall:
- Use a solid-wood reinforcement screwed into the timber studs hidden behind the wattle and daub.
- Install a suitably sized reinforcement secured to identified load-bearing elements to distribute the load.
- Don’t treat wattle and daub like hollow brick: an anchor designed for hollow brick is not automatically compatible.
- Anchor into a load-bearing element, such as a timber stud or lintel, to avoid damaging the wattle and daub.
Anchoring resin is not a one-size-fits-all solution for wattle and daub. Check that the manufacturer specifically approves it for the material you have; performance claims for concrete or brick do not apply to earth-and-straw infill.
| Method | Advantages | Disadvantages | Recommended load |
|---|---|---|---|
| Solid-wood reinforcement + screws | Durable fixing, gentle on the wall | Longer installation, requires locating the studs | Must be sized according to the timber and fixings |
| Chemical anchor + plate | Depends on the substrate actually anchored into | Higher cost, technical installation | No generic load rating validated for wattle and daub |
| Heavy-duty expansion anchors | Compatibility with wattle and daub has not been established | Less durable if the wattle and daub is very crumbly | Avoid unless the substrate has been validated |
| Fixing to a timber stud | Best option for heavy loads | Studs are not always accessible | Varies depending on the timber |
Step-by-step instructions for successfully attaching a shelf to a wattle-and-daub wall
1. Locate the studs or rigid supports behind the wattle and daub
- Use a stud finder or gently tap the wall to locate solid areas
- Check for cables and pipes before investigating; do not probe blindly
- Carefully mark these points with a pencil, making sure they are level
2. Prepare suitable fixings
- Choose screws and anchors compatible with both the timber and the wattle and daub
- Choose a system approved for the load-bearing support you have actually identified
- Plan to use a solid-wood or metal reinforcement plate to distribute the load
3. Drill carefully
- Use a drill bit suited to the anchor diameter
- Drill slowly and without forcing it to avoid breaking up the wattle and daub
- Thoroughly clean the holes before inserting the anchors
4. Install the reinforcement, then the shelf
- Screw the plate or timber reinforcement to the studs
- Attach the shelf to the supports according to the manufacturer’s instructions
The stability depends on the condition of the studs, the anchoring depth, the screws and the shelf’s overhang. Add weight gradually without exceeding the system’s limits, and have the support checked if in doubt.
Alternatives for hanging shelves without drilling into a fragile wattle-and-daub wall
There are non-invasive options, as long as you only place light items on them:
- A freestanding shelf placed on the floor, with anti-tip measures suited to its design
- A low cabinet that puts no stress on the wattle and daub
- Suspension only from an identified, suitably sized ceiling structure: this requires a specific anchor
These alternatives have the advantage of avoiding drilling, but they won’t replace a solid fixing for heavy items.
Good to know:
“A shelf’s stability depends not only on the weight placed on it, but also on the quality of the fixing,” warns L’Atelier du Bricoleur.
FAQ: Attaching a shelf to a wattle-and-daub wall
- Is it possible to attach a heavy shelf to wattle and daub? Only if the load is transferred to a suitably sized, sound structure; a plate glued or anchored into the wattle and daub alone is not enough to guarantee this.
- Which fixings should I use for a wattle-and-daub wall? Choose a fixing into sound studs that is designed for the load. Don’t choose an anchor based solely on a “hollow materials” label.
- Can I use standard brackets, like the ones at Castorama? Yes, but only if you reinforce the fixing and don’t rely on the wattle and daub alone.
- Is drilling dangerous for wattle and daub? Yes, it requires extreme care, a suitable drill bit, and thorough cleaning of the holes.
- Can you hang a shelf without drilling? Crumbly wattle and daub or its render cannot provide a reliable adhesive fixing. If you want to avoid drilling, choose a freestanding unit.
Looking for other ways to make the most of your interior? Also discover how to turn a storage room into a stylish bathroom and how to turn a closet into a peaceful home office nook to make use of every corner of your home.
Once the fixing is sorted, you can personalize a shelf or make small accessories with these DIY decorating ideas, making sure to include their weight in your load calculations.
Thank you for reading my article. See you soon; Patrick