
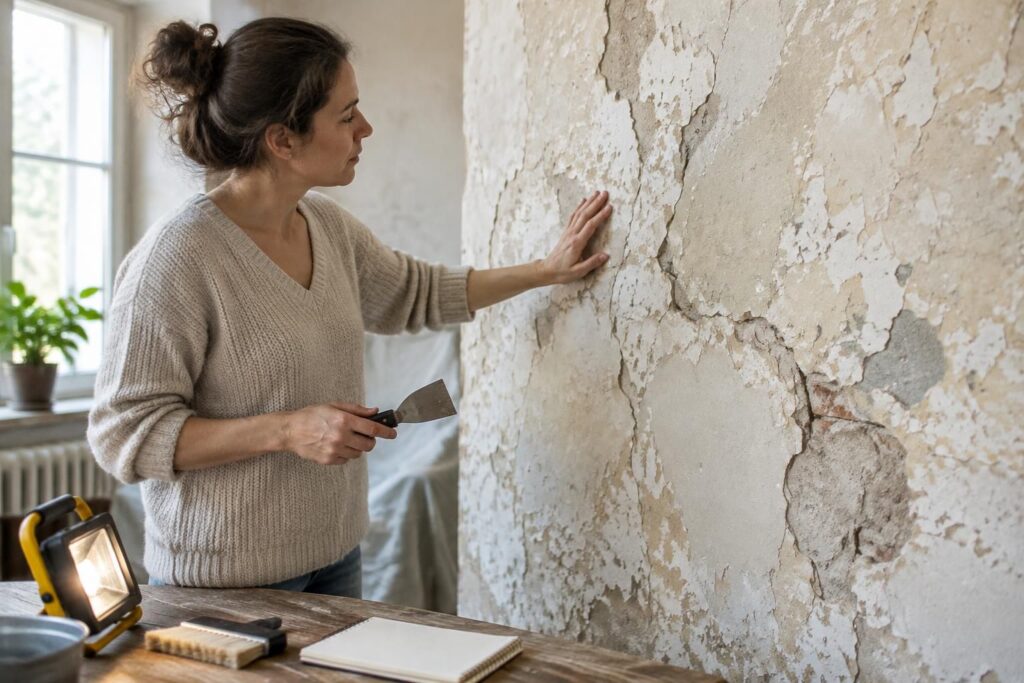
Hello, Patrick here. The first thing to do with old walls is to assess them before scraping, filling holes or painting. An old wall may conceal damp, fragile plaster or active cracks. Acting too quickly can sometimes turn an easy renovation into extra work.
Things to do right away
- Inspect the wall: look for blisters, marks, cracks and areas that sound hollow.
- Check for damp: look for a musty smell, water marks or whitish deposits.
- Test adhesion: gently rub a small area with your hand without pulling off the plaster.
- Photograph any defects: this will help you track changes before you start work.
- Hold off on painting: wait until you understand the condition of the surface and the cause of any problems.
Treating damp before starting work prevents moisture from being trapped behind a new finish. To plan the right sequence of work in an old house, always start by examining the surface.
Old walls: the pitfall of rushing the preparation
The seemingly good idea is to strip all the finishes on the first day. An old wall may have several layers, but they don’t all need to be removed: if they are firmly attached and compatible with the finish you’ve chosen, stripping them only adds work without improving the result.
Another common mistake is filling cracks before determining whether they are stable. A fine, old crack should not be treated in the same way as an opening that is widening or runs through the wall. If in doubt, monitor it and have any worrying signs assessed before covering it up.
Assessing walls: knowing what to keep or remove
Assessing walls starts with a systematic inspection. Look for damp areas, cracks, detached plaster and changes in texture, then check whether the defects appear to be localized or present across the entire surface.
Paint applied to a damp surface may blister or peel. Similarly, plaster that is coming away in sheets calls for targeted repairs, while a sound finish does not necessarily need to be completely stripped.
| What you see | What it may indicate | First thing to do |
|---|---|---|
| Water marks or blistering paint | Possible damp | Identify the source before covering it |
| Plaster that sounds hollow | Weakened adhesion | Check for detached areas |
| Fine, stable crack | Possible surface defect | Monitor it before filling |
| Crumbly finish | Fragile surface | Test a small area before preparing the surface |
Surface preparation: choosing the right approach
Once you understand the surface, tailor the work to the defect. Stripping finishes is only necessary if the layers are poorly adhered, incompatible with the new finish or damaged enough to compromise the result.
To fill cracks, remove only the loose material, then use a product suited to the surface and the width of the opening. On an old wall, it’s best to avoid adding multiple impermeable layers without first checking how the wall responds to damp.
Three steps to get started without making mistakes
- Inspect and test: examine the wall in daylight, note any defects and carry out a small adhesion test in an inconspicuous area.
- Address the cause: deal with the damp problem first or make any concerning cracks safe. Don’t move on to the finish while the surface remains damaged.
- Prepare one area at a time: remove only what is loose, dust the surface, fill suitable defects, then test the finish on a small area.
Imagine a room where the paint is blistering near the bottom of a wall. Stripping it and applying a fresh coat may seem like a quick fix, but if the damp persists, the problem will return. So the first step is not to cover up the problem: it’s to understand what’s causing it.
When to seek advice before renovating
A widening crack, a persistently damp wall or plaster falling off over a large area deserves a closer inspection. These signs alone don’t prove there’s a structural problem, but covering them up without an assessment can delay the right repair.
For a minor defect on a dry surface, localized preparation is often enough. For an extensive problem, an easy renovation starts with the right assessment: that’s what helps you avoid doing the same work twice.
Frequently asked questions about old walls
Do you always have to strip an old wall before painting it?
No. Strip layers that are peeling, coming away or incompatible with the finish. If the existing finish is firmly attached, a small test will show whether it can be kept.
Can you fill a crack straight away?
Only after checking that it isn’t widening and that its edges aren’t crumbly. A crack that is changing or is substantial should be examined before it is covered up.
What should you do if the wall shows signs of damp?
First, find the source of the damp and deal with it before painting or applying a finish. Covering a wall that is still damp may cause blisters and stains to reappear.
What is the first step when working on an old wall?
Inspect the wall, identify any defects and check that the finishes are firmly attached. This assessment helps you decide whether to keep the existing finish, make targeted repairs or strip it.
I hope you found these tips helpful. See you soon! — Patrick