
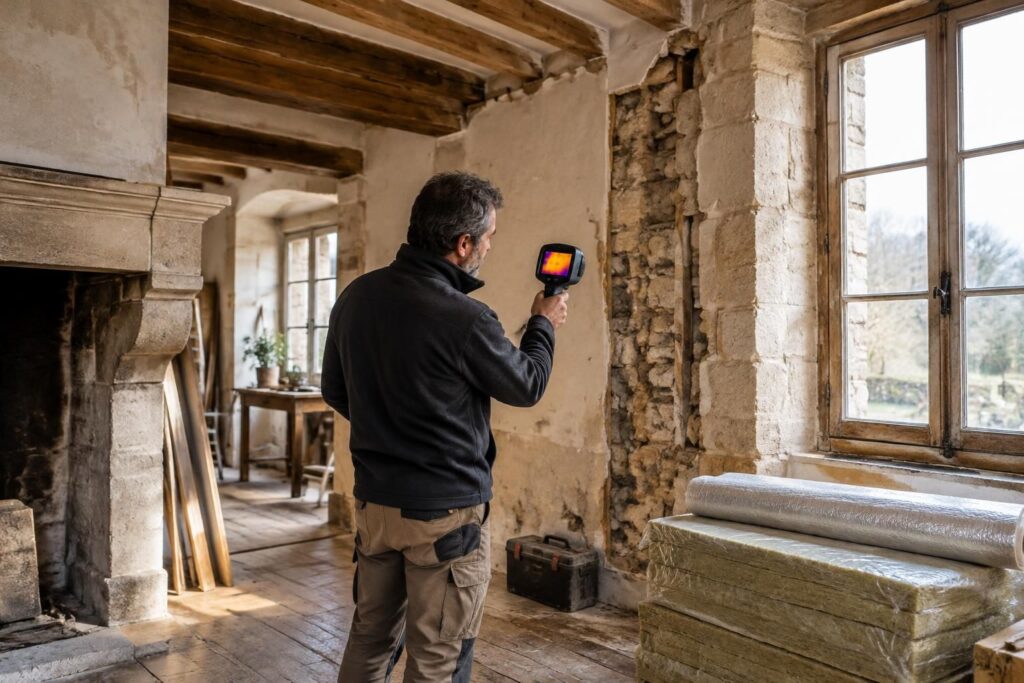
Hi, DIYers, Patrick here. To successfully carry out an energy-efficient renovation in an older home, follow this order: assess, address problems, insulate, ventilate, then choose the heating system. A stone, earth or brick house does not behave like a recent build: moisture and materials matter just as much as the performance you’re aiming for. Here are the seven costly sequencing mistakes to avoid, and how to avoid them.
Do this right away
- Have the roof, timber frame, walls and floors inspected.
- Look for leaks, cracks and signs of moisture before installing insulation.
- Request an energy audit to compare useful renovation options.
- Establish a sensible order of work before signing any quotes.
- Check the grants and eligibility requirements before work begins.
An assessment helps you avoid spending money on a secondary item when a hidden problem is threatening the building. For more information, see these tips on what to check before major renovation work and the order of work in an older home.
The 7 sequencing mistakes that can weaken an older home
1. Starting without an energy audit
Without assessing the current condition, you risk choosing work at random. An energy audit identifies heat loss, thermal bridges and ventilation problems, then compares several options suited to the home.
You also need to check the roof, utilities and structure. An energy-efficient renovation must not conceal a leak or an unsafe installation: urgent building repairs come before comfort improvements.
2. Putting aesthetics ahead of priorities
Repainting rooms or renovating a kitchen delivers visible results, but does not reduce heat loss. If energy-efficiency work is planned later, new finishes may be damaged or removed.
Start with the elements that protect the home and reduce its energy needs. The order of work helps you avoid paying twice for the same surfaces.
3. Insulating before addressing moisture
A stain, salt deposits or peeling render calls for an investigation into the cause. Leaks, rising damp and inadequate ventilation require different solutions.
Installing insulation over unresolved damp walls can encourage condensation and mould. First, make the surface sound; then choose a solution that is compatible with its composition.
4. Choosing materials that are too impermeable
Older stone, earth or brick walls manage moisture transfer differently from contemporary walls. Unsuitable products can prevent this regulation and damage the render or walls.
Depending on the wall and its condition, lime render, earth render or wood-fibre insulation may be suitable options. Breathable materials are not a one-size-fits-all solution: ask a professional to confirm they are compatible.
5. Replacing windows without planning for ventilation
New windows reduce air leaks, but they also reduce natural air exchange. If the house becomes more airtight without suitable ventilation, indoor moisture and mould can develop.
Consider ventilation alongside insulation and windows. The right system depends on the home, how it is used and the layout of its rooms.
6. Installing a heating system before reducing heat loss
Choosing a powerful system before insulating often means sizing it for a house with very high heat loss. Once the building envelope has been improved, energy needs may fall, making the original choice less suitable.
Reduce heat loss first, then have an efficient heating system sized to meet actual needs. The roof or attic is often a priority, but the condition of the walls and floors may change the plan.
7. Starting without support or a contingency budget
A cheaper quote may leave out finishing work, connections or the treatment of critical junctions. Compare the scope of work item by item and ask for references from projects involving older buildings.
Public grants, energy-saving certificates and local schemes can help reduce the cost of some projects, subject to conditions. Check the criteria before work begins and set aside a contingency: removing finishes may reveal a damaged roof frame or a damp wall.
A 3-step method to avoid redoing work
- Step 1: make the building safe and sound. Check the roof, timber frame, structure, utilities and moisture. Address problems before finishing or insulating.
- Step 2: reduce energy needs. Plan the thermal insulation and airtightness work, then include ventilation that is compatible with the building.
- Step 3: size the systems. Choose the heating system after improving the building envelope, and plan the remaining work without compromising what has already been done.
If the roof is leaking, make it watertight before installing any insulation. If the house is in good condition, compare the energy-efficiency measures according to the observed heat loss and your budget.
What order should you follow, depending on the condition of the house?
There is no single sequence that works for every older home. The table provides a guide: an assessment of the building remains essential, especially when visible problems are present.
| Situation | Priority | Logical next steps |
|---|---|---|
| Damaged roof or timber frame | Make the building watertight and secure the structure | Upgrade the insulation, ventilation and systems |
| Signs of moisture on the walls | Identify and address the cause | Choose insulation suited to the substrate |
| Sound house with very high heat loss | Assess heat loss with an audit | Insulate the priority areas, then adapt the heating system |
| Limited budget | Avoid spreading spending too thinly | Carry out the most useful work according to the overall plan |
One story sums up the pitfall: during a renovation, a homeowner replaced the windows before fixing a roof leak. A few months later, water had marked the new finishes; the roof repair should have come first.
As a simple rule goes: “Treat the cause first, then the symptoms.” In renovation, following this order protects the building as well as the budget.
Plan a whole-home renovation without compromising the character of the building
A whole-home renovation does not necessarily mean doing everything at once. It means planning insulation, ventilation, windows and heating together, even if the work is carried out in several phases.
Take the time to ask for detailed quotes: the areas to be treated, materials, connections around windows and finishes should all be clearly specified. A well-coordinated solution avoids thermal bridges and reduces the risk of having to redo recent work.
The cost depends on the house’s actual condition, the materials and the work required. A partial renovation may cost several tens of thousands of euros; a complete project involving the roof, utilities and structure can exceed €100,000, depending on the circumstances. With a given budget, focus on the most useful work rather than adding more items.
Frequently asked questions about energy-efficient renovations of older homes
Where should you start with an energy-efficient renovation of an older home?
Start by checking the structure, roof, utilities and signs of moisture. An energy audit can then help prioritize the work.
Should a stone wall be insulated?
Not necessarily. Whether it is appropriate, and which method to use, depends on the wall’s composition, exposure and condition. First check that it is sound and seek advice suited to the building.
Can you renovate an older home in several stages?
Yes, provided an overall plan is defined before work begins. The stages must be compatible to avoid removing new work or creating moisture problems.
When should you choose the heating system?
After assessing and reducing heat loss, and planning suitable ventilation. The system should be sized to meet the home’s needs after the work is complete.
Thanks for reading this far; Patrick