
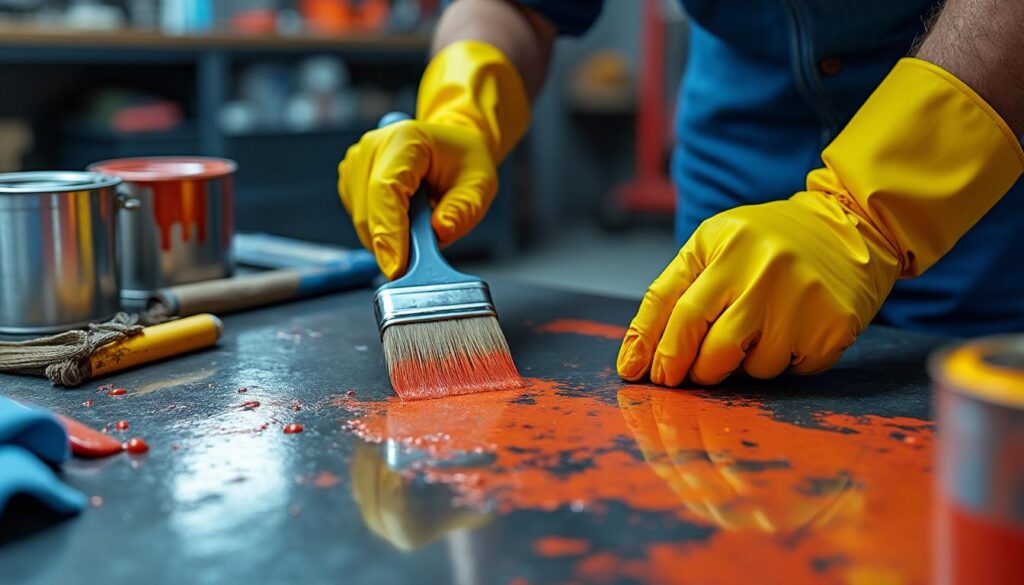
Hi DIYers, I’m Patrick. No, repainting a greasy surface without degreasing it isn’t a reliable method: grease prevents paint from adhering, even with a primer. To save time without having to redo the work, clean it with a compatible product, rinse if the instructions say to, let it dry, then apply the system suited to the surface. “No sanding” doesn’t mean “no cleaning.”
Painting over a greasy surface: risks to be aware of
First of all, it’s important to understand what happens when you paint over a greasy surface. The paint won’t stick; it may blister, peel or flake off quickly. What’s more, the finish is often uneven and dull, and doesn’t last. It’s a bit like trying to hang a picture on a wall covered in jelly: it just won’t stay up! As they say, “good preparation is better than a poor repair.”
- Impaired adhesion: grease creates a barrier between the surface and the paint.
- Rapid deterioration: paint that peels or air bubbles on the surface.
- Poor finish: uneven color, lack of sheen or visible marks.
So, preparation must remove the grease before anything is applied: primer is no substitute for cleaning.
Which products should you choose after degreasing?
First identify the surface: washable painted wall, wood, metal or tile. Then choose a compatible cleaner and a suitable primer if needed. Labels such as “multi-surface,” “direct” or “no sanding” don’t mean you can paint over grease; only the product’s technical data sheet specifies how to prepare the surface.
- Universal acrylic paints for surfaces permitted by their instructions, provided they are clean and dry.
- “Direct-to-surface” primers or undercoats, such as V33, Julien or Peintures 1825, chosen according to the surface; a stain-blocking primer for residual stains is not a degreaser.
- Specialist floor or metal preparation products such as Luxens or Tollens, designed for difficult surfaces.
After cleaning, test the product on a small area and allow it to cure as directed before assessing adhesion. In a kitchen, don’t repaint flexible joints or surfaces that come into contact with food using ordinary decorative paint.
| Surface | Preparation | What to check | Next step |
|---|---|---|---|
| Washable painted wall | Clean without soaking, rinse if required, then dry | Existing paint is firmly adhered | Compatible finish coat |
| Wood or furniture | Degrease with a suitable product | Wax, varnish and old paint | Prepare and prime according to the instructions |
| Metal | Degrease and treat any corrosion | Ferrous or non-ferrous metal | Suitable coating system |
| Tile | Clean the tiles and grout, then dry | Compatibility and exposure to water | Tile-specific paint or primer |
Clean, dry, then paint: the right sequence
When it comes to technique, the key is to prevent the paint from sliding around instead of sticking. Here are a few ways to maximize adhesion:
- Degrease before sanding: otherwise, you risk spreading the contamination. Only abrade the surface afterward if the system calls for it.
- Apply a specialist primer compatible with the clean, dry surface, if the system calls for it.
- Use a short-nap roller or brush to apply the paint in a thin, even coat, helping to prevent runs.
- Apply several thin coats, allowing each coat to dry thoroughly before applying the next, to improve durability.
For example, on a kitchen door that’s grimy around the handle, start by cleaning that area rather than covering it with primer. Change the cloth when it gets dirty, avoid soaking the wood, and wait until it’s completely dry. To help choose a finish afterward, these color and material ideas for your home can help you coordinate the furniture with the room.
Mistakes to avoid when painting a greasy surface
Painting directly over a greasy surface without preparing it is risky. To limit the damage, make sure you don’t:
- Apply the paint in a hurry; drying time is essential for the paint to adhere.
- Choose a product without reading the technical data sheet: compatibility and preparation matter more than the brand’s reputation.
- Forget protective equipment; follow the precautions for the cleaner and paint.
- Neglect ventilation in the space to prevent toxic fumes from building up.
As with any renovation, it’s better to be safe than sorry.
Make your paint last longer on a greasy surface
To make your new coat more than just a decorative touch and help it last, here are a few easy tips:
- Choose a suitable, reputable paint such as those from Peintures 1825 and Blancolor.
- Prepare the surface properly: no primer can guarantee adhesion over a layer of grease.
- Paint at the right temperature—not too hot or too humid—for even drying.
- Avoid direct contact with fresh grease or oils after painting, or the finish will quickly become less effective.
By combining these tips with reputable brands such as Tollens or Luxens, you’ll have everything you need to transform a stubborn surface into one proudly sporting its new coat of paint. And if you’re interested in how to repaint without covering everything with a drop cloth or making a mess, this article is just what you need to round out your clever DIY toolkit.
Frequently asked questions about painting without degreasing
Can you really paint over a very greasy surface without degreasing it?
Painting over a very greasy surface without degreasing it is risky and rarely lasts. Even light contamination must be removed as directed for the system you’re using.
Which products should I choose if I don’t have time to degrease?
Put off painting and use the time you have to clean the surface first. Primer can’t make up for poor preparation.
Should I sand before repainting a greasy surface?
Clean it first. Sanding, if needed, comes afterward, once the surface is dry, and according to the instructions. If the old paint may contain lead, have the risk assessed before creating dust.
Can paint completely hide grease on a surface?
Paint doesn’t hide grease; it adheres to the surface. Excess grease can migrate and cause blistering or peeling. Remove the grease before deciding whether to use a primer.
Are there eco-friendly alternatives for this type of paint?
Water-based paint isn’t automatically safe or eco-friendly. Compare emissions, labels and usage conditions; the surface still needs to be cleaned.
See you soon for more topics; Patrick